
Recently I purchased a used TPO 6″ f/9 Ritchey Chretien optical tube. What has been surprising is the lack of reviews or any other information on this TPO branded RC. In fact, there is very little at all on 6″ RCs or RCs in general. TPO doesn’t have an instruction manual, so you have to use the one for Astronomics or Orion.
The first thing that I noticed was that the TPO back focus is not the same as Orion or Astronomics. It comes with 2 one-inch rings and 1 two-inch ring that attaches between the optical tube and focuser. If you use a diagonal and eyepiece, you can’t use any rings at all and my Sony NEX-3N camera only uses a one inch ring. Turns out the ATIK 414EX camera that will normally be used needs one and a half inch rings. The Orion instruction manual lists a much different setup for using the visual and camera modes.
The other thing that surprised me was how easy it was to collimate. Several years ago, I struggled with an 8″ F/4 Newtonian that never got completely collimated. Then I broke a corrector plate on my 8″ trying to shim the corrector perpendicular to the (custom) graphite tube. Being dyslexic, collimating is not my favorite thing to do! However, it took me less than a half hour to get this scope spot on!
Being able to reach around and tweak the Allen screws while looking through the Cheshire eyepiece made it a quicker process. Though I suspect that most buyers would opt for an 8″ scope there are definite size and weight advantages of a 6″ vs 8″ or bigger and this is one of them. Somehow the process seemed much more intuitive than my other experiences. What few reviews you can find often talk about the difficulties of collimating these kinds of scopes. I did not have any of those issues and it had to be collimated a second time after a car ride.
Another oft stated remark is that you will be “disappointed looking through one of these visually.” My experience was just the opposite! The view blew me away. Clear, crisp, very sharp views really dazzled me. First light visually was Sirius, and it was quite stunning. Though I don’t think this would be my first choice for a visual scope it was much much better than advertised.
Because of the mirror, focuser and camera being on the back of the tube, weight needed to be added to the front. So, I used two pieces of strapping metal and a heavy C Clamp to hold them onto the dovetail. Worked great and the tube balanced very well. Having a “beautiful” scope is not as important to me as making it work well so a C Clamp holding on weights works well.
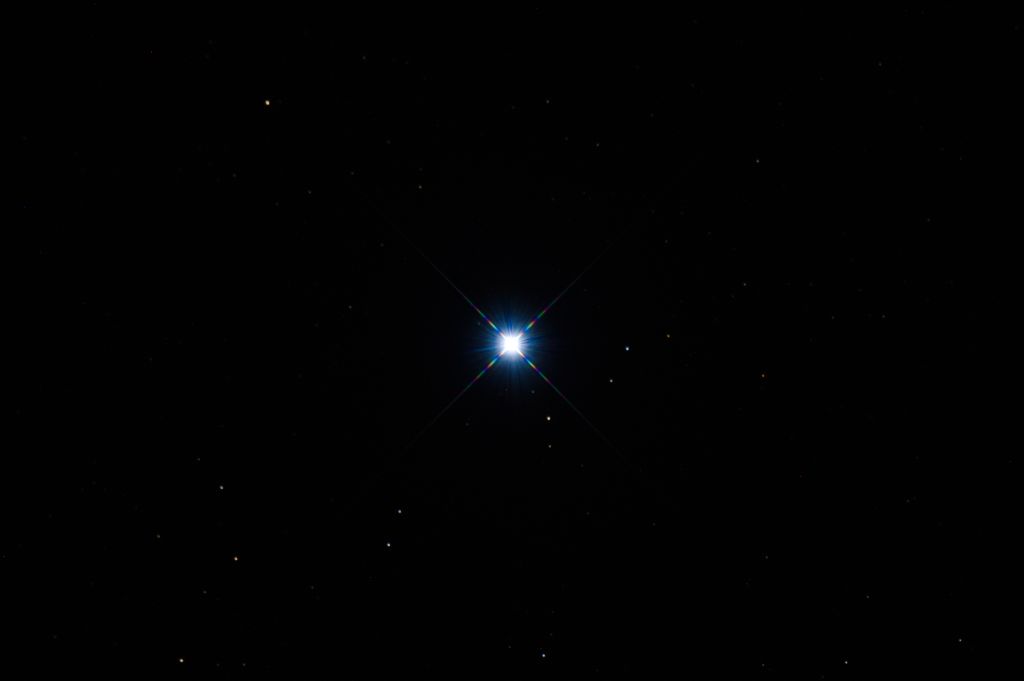
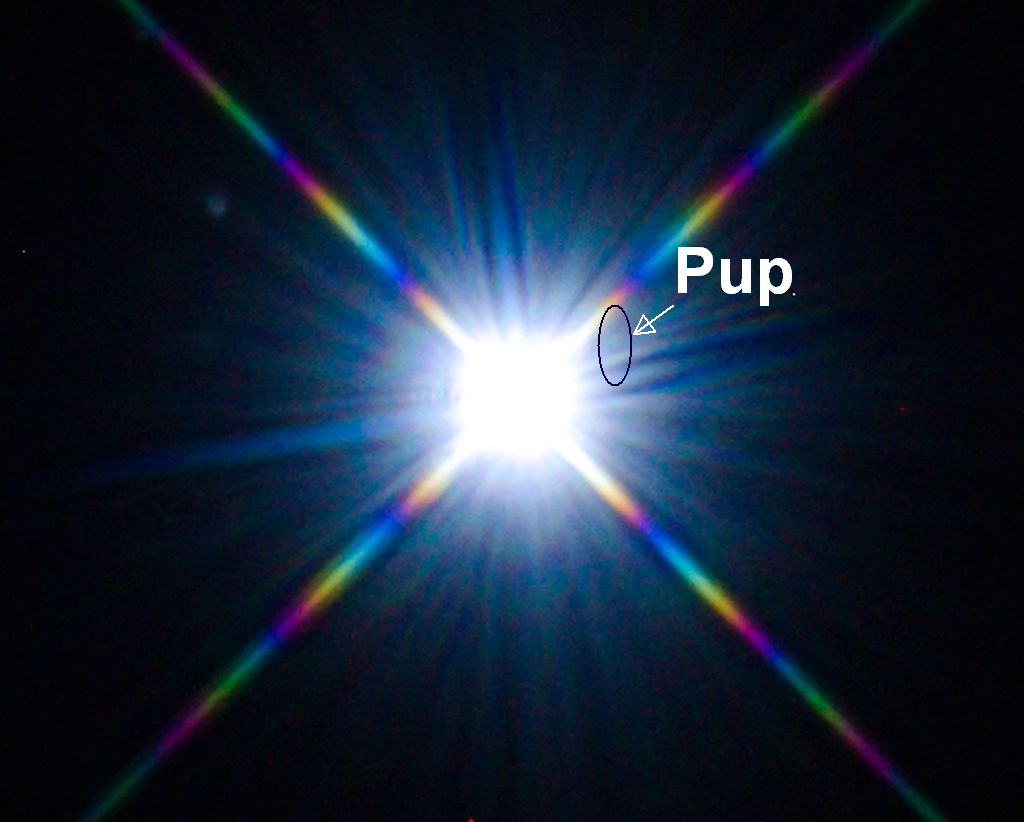
The image below is “first light” with a camera. In this 30 second image, the dimmer stars are a bit out of focus, but the collimation is good and the star Sirius striking.
Disaster?
After transporting the scope home from where the first light images were taken the collimation was way off…I mean way off! So I collimated it again which only took a couple of minutes. Then it was carried down the steps from my upstairs office and put on the mount. One last check revealed that it was way out of collimation again! So after messing with it for an hour I took it back inside and promptly stripped 2 collimation screws on the secondary.
My first thought was I must really be frustrated. Then logic took over. Just thinking about the design would say that it should not get out of line so quickly if it was all working correctly. My conclusion after testing the remaining screw with the hex wrench was that the other two screws were already cross threaded and probably not seating correctly on the secondary.
So after taking the secondary assembly off of the scope and removing the secondary mirror from the assembley it was time to figure out what to do. I ordered a 5 mm heli-coil kit from Amazon. It came the next day. I drilled out the 2 bad screw holes and inserted the heli-coils. Since the coils were longer than the holes I used a dremel cutter to trim the excess. This took 5 minutes! It took me longer to figure out where my dremel tool was than to fix the issue.
Worked perfectly. Not longer do you have to use brute force to move the adjustment screws. It took about 30 minutes to attach the secondary mirror back to the assembly and put the assembly back on the tube. The screws that came from the stripped holes had aluminium on them so it was easy to pre-adjust them to where they were when they stripped. This allowed me to adjust the secondary back to where it was before it had to be removed. Saved a lot of time fiddling with getting the right spacing on the secondary.
In another 30 minutes it was collimated. So I did something that I should not have done! I picked up the tube and shook it as hard as I could. It was still collimated! Success on this repair!
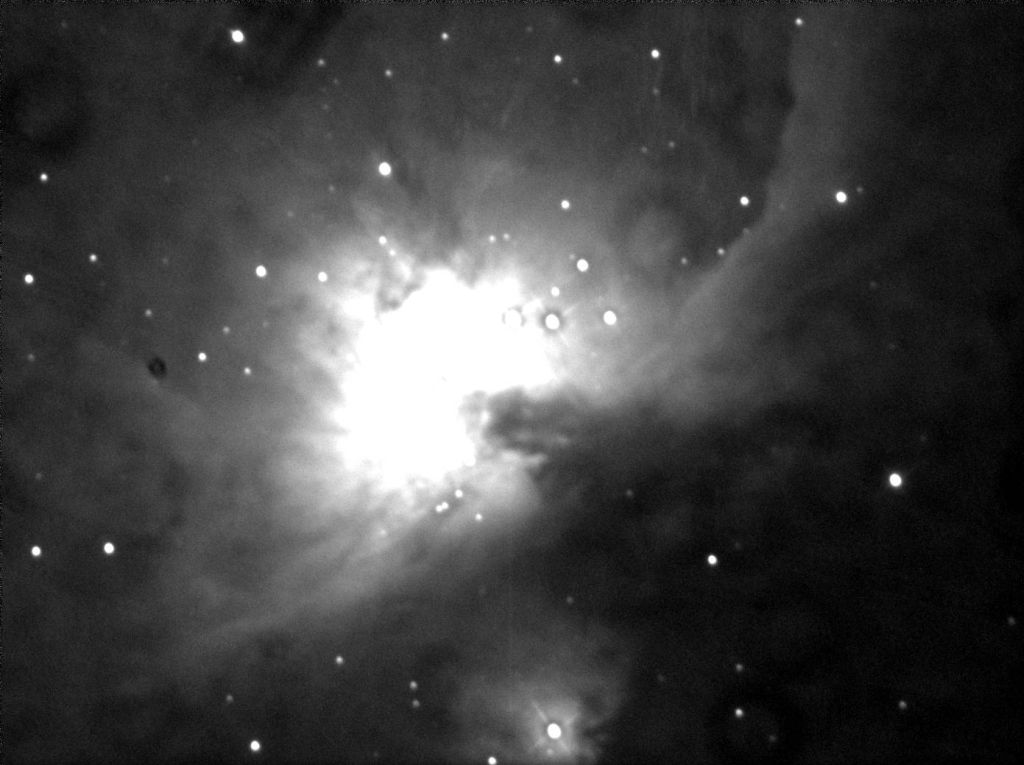
The next clear night ( or what passes for clear in the midwest United States in April) I set it up again, spaced out the ATIK 414 EX camera correctly and shot images of M 42. There were high clouds, bright moon and no calibration frames so it is not a very good image. It did however, tell me all was well with the collimation and the problem was truly fixed.
It is unfortunate that these little scopes often get a bad rap. Getting everything lined up correctly and collimated can be challenging but I suspect that most who buy one of these are not really ready for this advanced design. It is not a beginners scope. In fact the increased focal length alone makes it difficult to guide accurately and puts a lot of pressure on a mount to track well.

I got this scope to replace my 8″ LX200 that I broke the corrector plate on. The 6″ RC was purchased primarily to do imaging of the Central Stars of Planetary Nebula. You need a longer focal length for this type of work to get a good enough signal to noise ratio on these faint CSPN. An RC design is excellent for this kind of work.