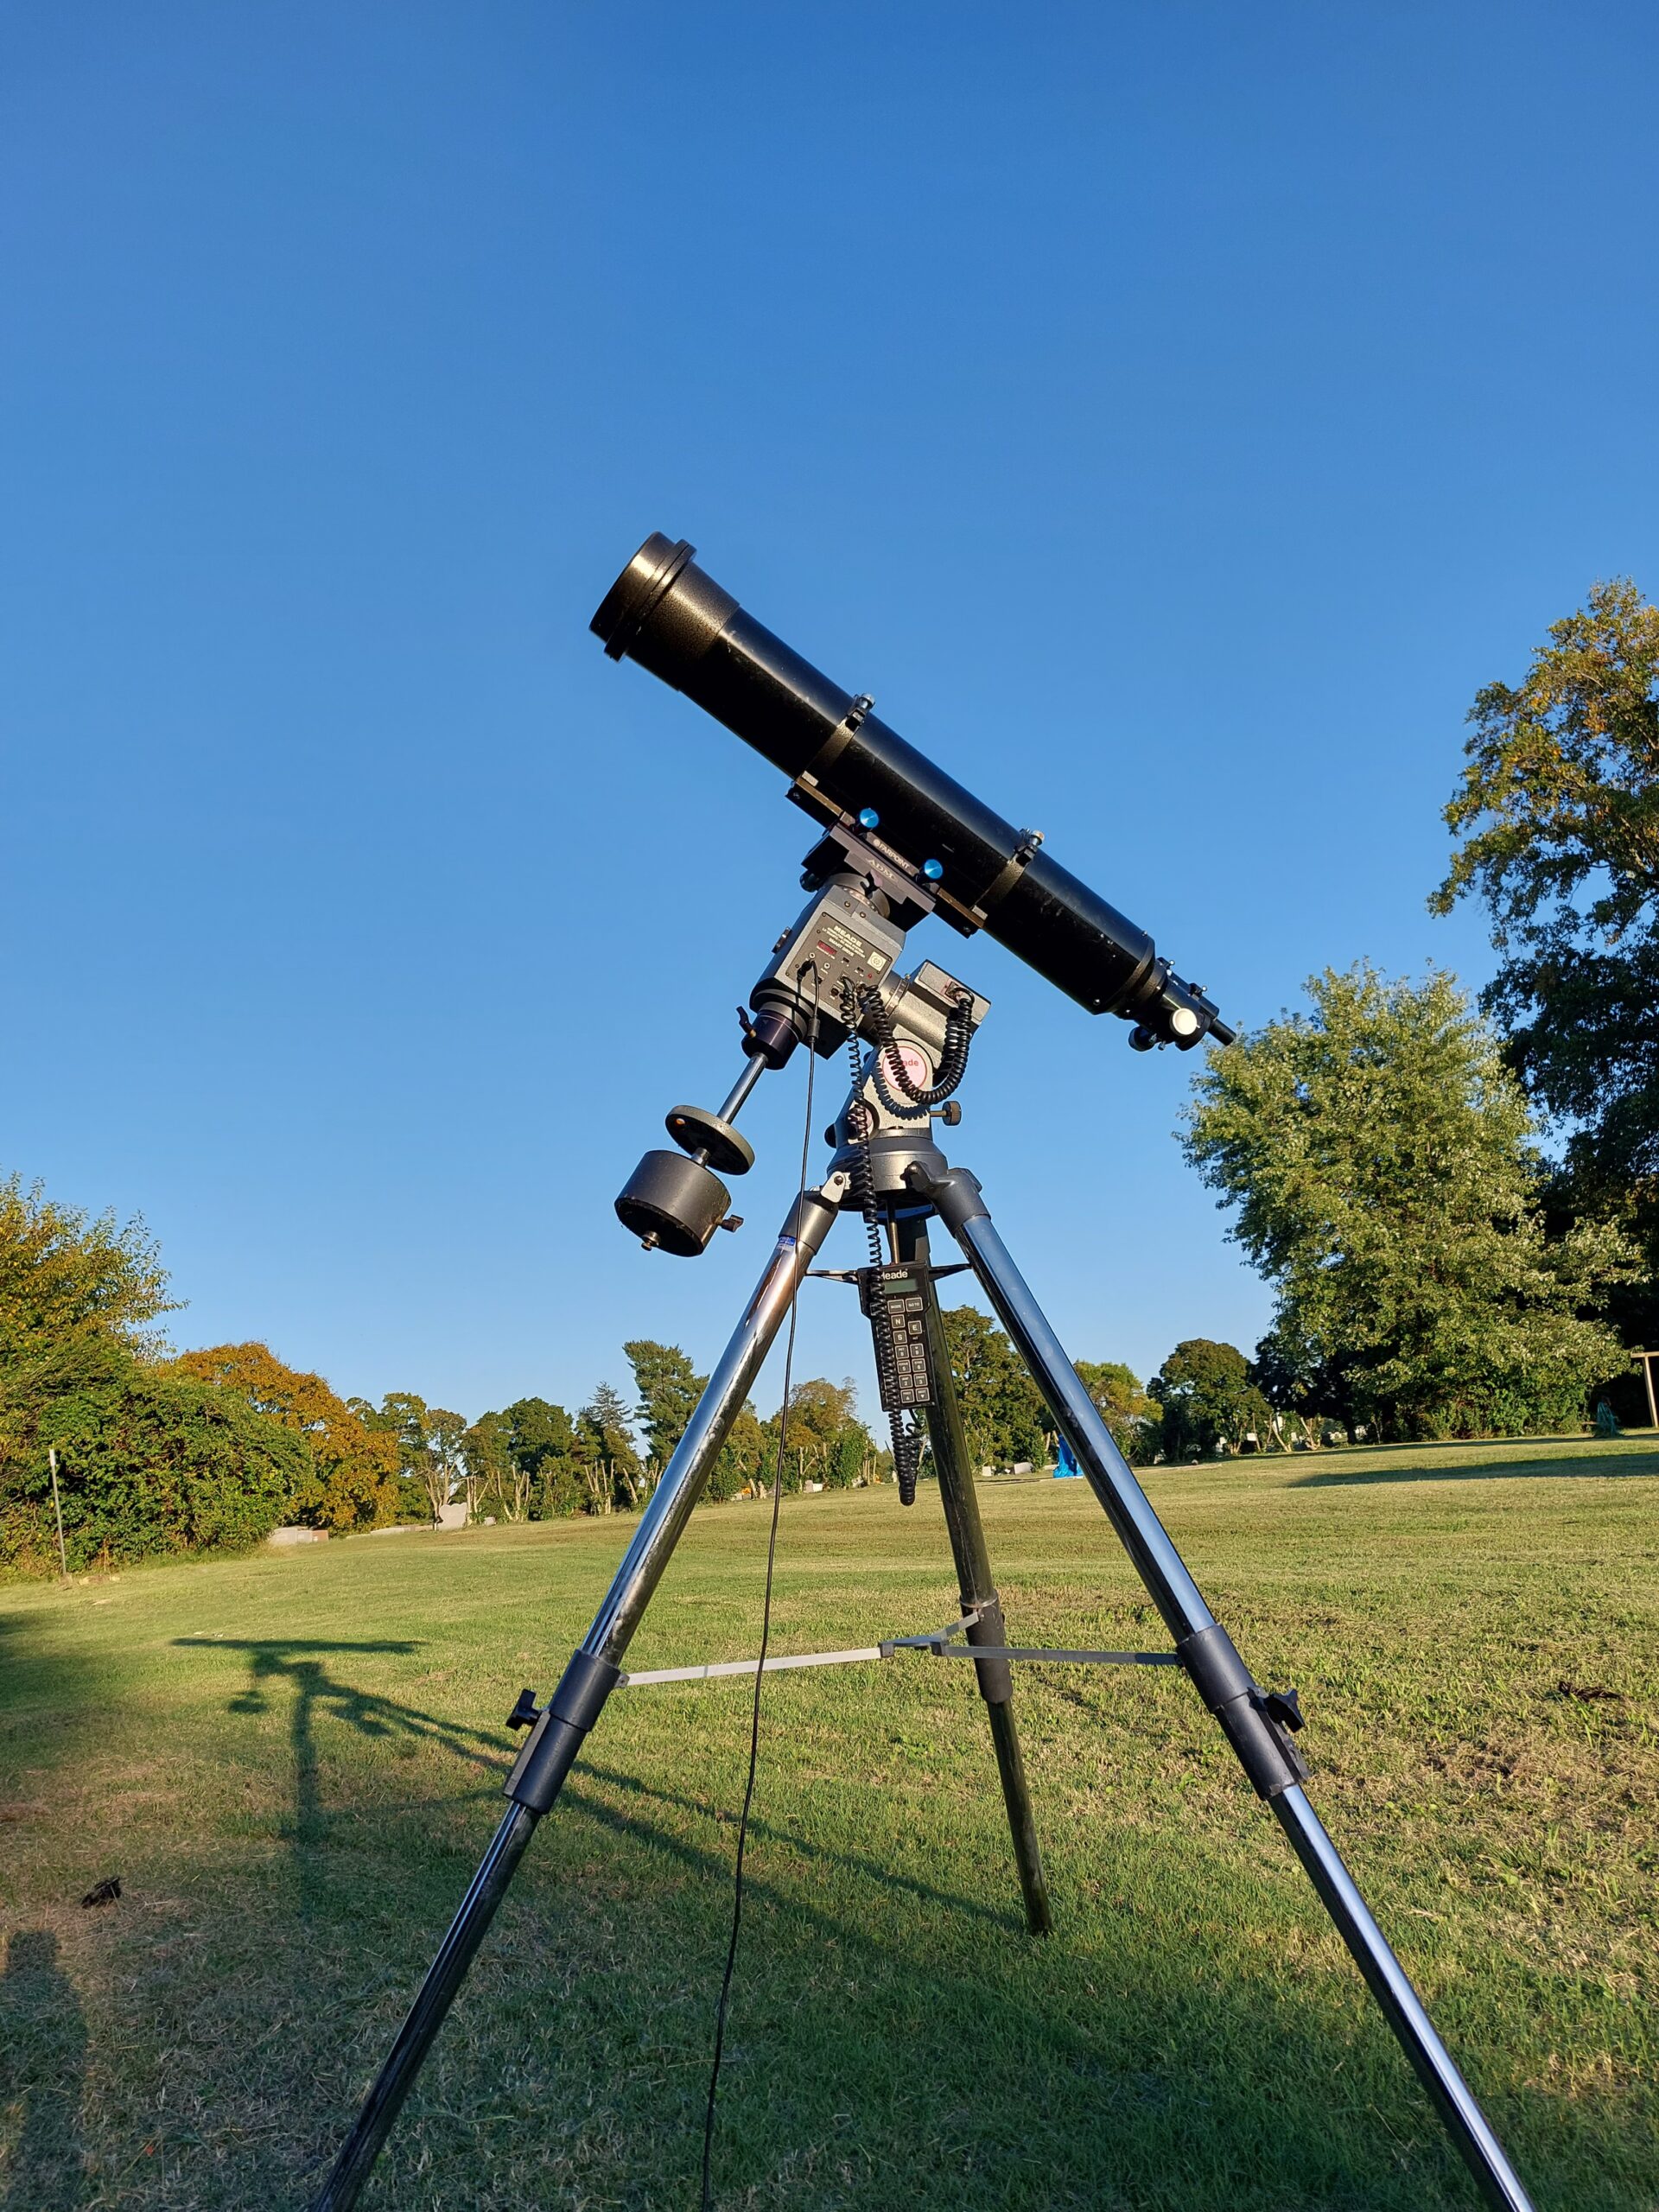
Meade LXD600 Mount
In June 2021 I drove to Phoenix to see my mom. On the way home I went through Tucson heading to Southern New Mexico to visit my son. On a whim I set the GPS to take me to Stellarvison Astronomy shop. Bad idea. When I got there I asked Frank Lopez, the owner, if he had any LXD750 mounts. He said without batting an eye “Yes three of them.” He also had several LXD650’s and even a few LXD600. This series of mounts are up to30 years old, not an expected find even in a used telescope store!
The mounts were Specifically developed for Meade’s lineup of ED refractors in the 1990’s. It’s very difficult to find information online about these scopes and mounts. Much of the information you do find is very negative. The 7″ ED refractor that uses the LXD750 mount and tripod had a lot of issues and often had to be returned to the manufacturer. This obviously did not set well with customers. However, the mounts were some of the first to use “Goto” technology. They are set up to be similar to the feel of a professional observatory of that day. Big thick “paddle” controllers and lots of numbers to input. The optical tubes are also some of the first commercial “Extra Dispersion” glass color corrected refractors and had the usual teething issues of new products.
So why in the world did I want an LXD750 mount?
Size and cost, that’s why! Years ago I bought a used Celestron 6″ F/8 refractor (the “Beast” in a parody of David Levy naming his telescopes) and I needed something that could handle it. The first mount used for the 6″ actually came with the scope when I got it. It was an old Orion Skyview Pro with a dual axis drive. It worked, but not well. You could get a 45 second, unguided image if your polar alignment was good, the wind wasn’t blowing, you didn’t touch it and a large truck did not pass by! Then only every other image would have round stars!
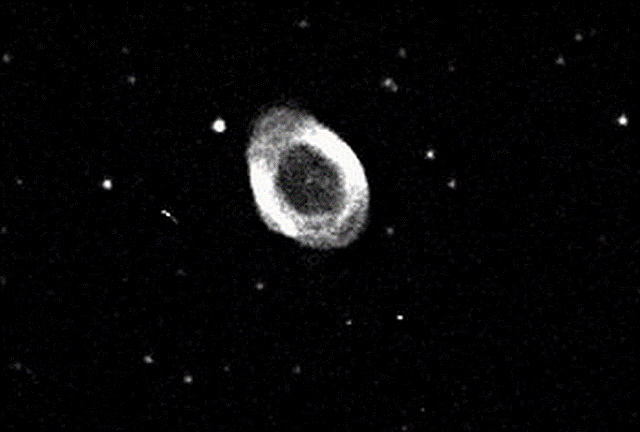
After a few months a Celestron ASGT mount was purchased but still not sturdy enough for all conditions. However, with a lot of patience I did get a pretty good image of M 57 with the Celestron ASGT. After a freak 120 mph windstorm demolished the ASGT mount I purchased a used Orion Sirius mount. This was better but it still was not made for a refractor this long. It was not the weight but the long “lever” action of the 1200mm focal length tube that made these mounts unsuitable.
Because the LXD mounts are so old the prices are usually pretty low, as well as being massive. A new similar weight mount can cost 5000 dollars and up, and that’s for the low end of the price scale. Plus the mounts can hold a lot of weight, somewhere around 100 pounds. The 7″ refractor was big around, long and heavy. You needed a substantial mount just to use it visually, much less for imaging.
The motor drives are odd on this series of mounts. They are essentially a “slot car” motor geared down to drive the mount. They actually run over 10,000 rpm but by gearing them down, have pretty good torque. This contrasts to the mount itself which uses heavy metal and even steel bearings on the shafts. No plastic here! If Meade would have made the drives as robust as the mechanical part of the mounts they would still be a mount of choice to this day. However, if the drives ever die I plan on using the mount without them and it will still handle a large telescope well.
Unfortunately, I had a problem in buying the 750. Being on vacation and not having planed on buying a large mount, I had not left room in my car for something this large. So I settled for the next best thing, an LXD650. This is a scaled down version but with an effective weight limit of around 50 pounds. Most forums say it only holds about 30 pounds but those who have used one for years say 40-50 pounds. Especially if it is a shorter tube than a refractor.
When I got home I promptly blew out a capacitor, since it was a 19 volt power supply. The stock capacitors couldn’t take my ham handed bumbling. Frank at Stellarvison, was gracious enough to let me send it back and then replaced it with the LXD600 which is the same as the 650 but uses a safer 12 volts instead. The higher voltage was added to the 650/750 models (without any electronic changes by the way) to facilitate a faster slew speed. This created an issue with the capacitors blowing out and sometimes taking a ribbon cable or board out with it. I am not in that big of a hurry!
So how does this antiquated piece of technology work?
Quite well actually! Like a lot of these older mounts it has it’s quirks and oddities that you have to work around. All first generation telescopes have these problems. If you don’t believe it, read “The Perfect Machine” about the Palomar telescope. An engineer discoved a fish weight scale in the mirror structure after many years of operation and removed it thinking it shouldn’t be there. Turns out when it was removed the mirror image went bad until they put it back in. After a few generations and lots of observer feedback, these type of “kludge” fixes are no longer needed in new telescopes. But until then you just come up with work arounds.
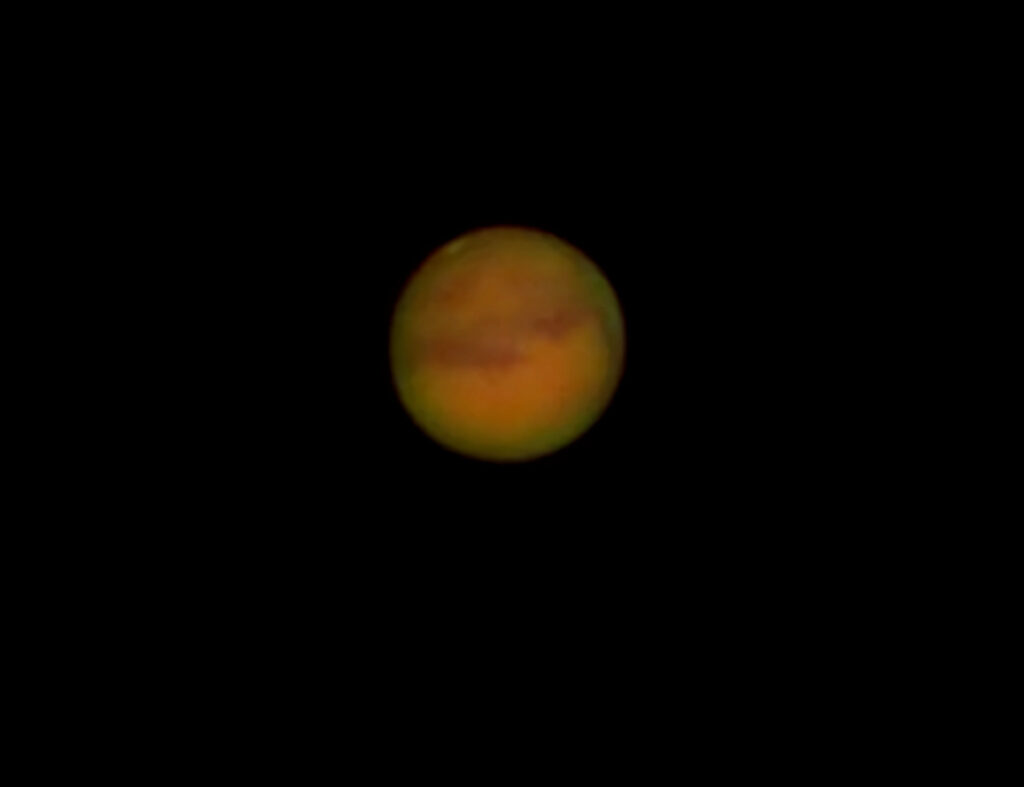
The LXD600 sat in my garage over the winter. I had used it for some planet and moon images in the fall of 2021 but really did not do more than set it up and take pictures through the 6″. The reason for this was the cold as well as recovering from a serious heart condition. It was difficult in the fall of 2021 to get the energy to do more than just uncover and run my actual science imaging set up, much less polar align, use the antiquated star numbering system, learn the quirks and heave the 6″ onto the mount.
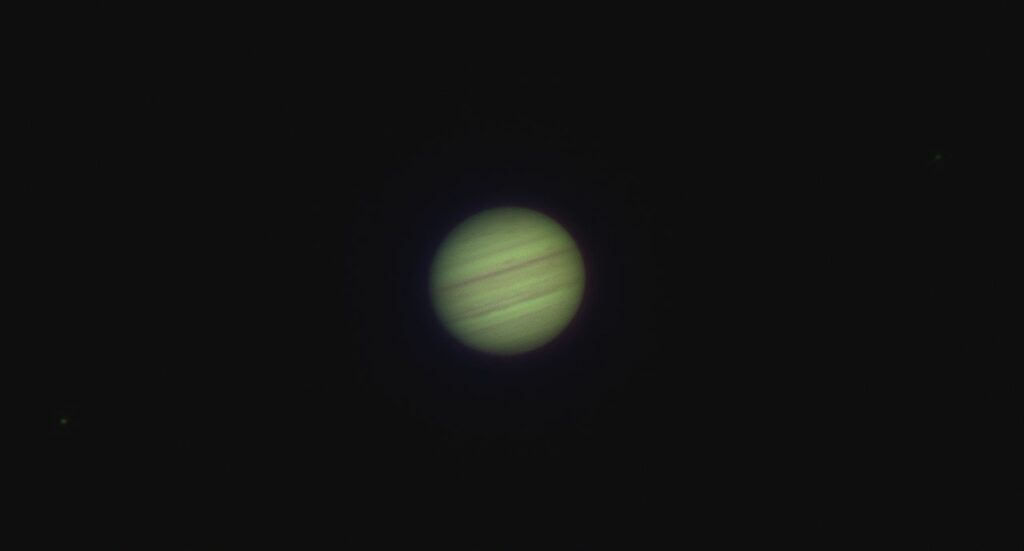
It is “common knowledge” that you can’t take good color images through a short focal ratio achromatic telescope (F/5-F/10). Obviously, this is false. Using a Celestron Minus V filter stacked with a IR/UV cutoff filter eliminates most ( but not all) the effects of Chromatic Aberration with a camera. What remains is easy to deal with. I use Lightroom but there are numerous other software that will do the job. The Celestron Minus V filter, which is a rebranded Baader filter, has a significant light leak in the infrared which can degrade pictures. Adding the UV/IR filter stops this leak and gives an image with less false color. However if you don’t mind a little purple fringing the colors on the disk are terrific without a filter at all!
Last month an Ebay a dealer listed a pair of EPROM chips for sale for the LXD600/650/750. For 25 dollars delievered I thought it was worth taking a chance that these were some of the long sought after, seldom found, chip upgrade sets for these mounts. Meade’s early versions (ver2.xx) had a 780 object database and limited menu options. The version 3.xx and above chips had 64,000 objects and a much more productive menu. Meade made a few of these upgrade kits but finding one is rare. Since I had the old 2.xx version I was excited to try out this upgrade.
The biggest issue was that the old v2 Handset was not compatible with the v3 chipset. So after the chips came in they were installed in the old board. The boards had obviously been made for this new chip but the version 2 chips had 4 less pins. Not sure why they would put in smaller EPROMs but they did. After installation of the new chips the motors initalized but the handset never “shook hands.”
Clearline Technology provides a new updated replacement handset for 150 dollars. This replaces the old handset with a brand new contoller with capacitors that can handle the extra voltage of 19 volts, though it still works fine for the 12 volt systems. Clearline promptly sent out the handset and when it came in, it was of course sprinkling outside. Eager to see if this upgrade worked I went outside, raised the tarp cover enough to plug in the handset. After powering up the mount it didn’t work! I went in and sent off an email telling Clearline that the handset would be sent back. After the sun came out I went outside to bring in the mount head to replace the old chips on the board and saw that the RA cord was not plugged in. So I plugged in the RA cord and then the handset, powered it up, and it worked great. Now the handset reads Version 7.2! Success, it is a miracle!
The alignment system is a bit kludgy. To align the scope you have to set the scope in home position, then use the HC to move the RA to 90″ east of where home position is. There is a 2nd mark to indicate when it is in the correct position. If you don’t follow this exact procedure, the optical tube will hit, the tripod. When you press enter and begin the align, the tube will move to where polaris should be. You then use the manual adjustments to center polaris in camera or eyepiece then hit enter again. It will take you to a bright star where you use the handset to center it, then hit enter again. This brings you back to the Telescope and object menus. To get a fair polar alignment you need to do this process multiple times at least 15 minutes apart. Once you get it polar aligned, experienced users have said that you just don’t bother to center Polaris in the center of the field of view and just click enter to go to the next star to align.
Sometimes you press enter and nothing happens. The hand control is fairly sensitive and a long push or too short of push will not work. You have to at times, press enter multiple times before it responds. Not sure why, but these are some of the quirks refered to above. The clutch knobs also need to be tightened good or the scope slips. This is easy to overlook.
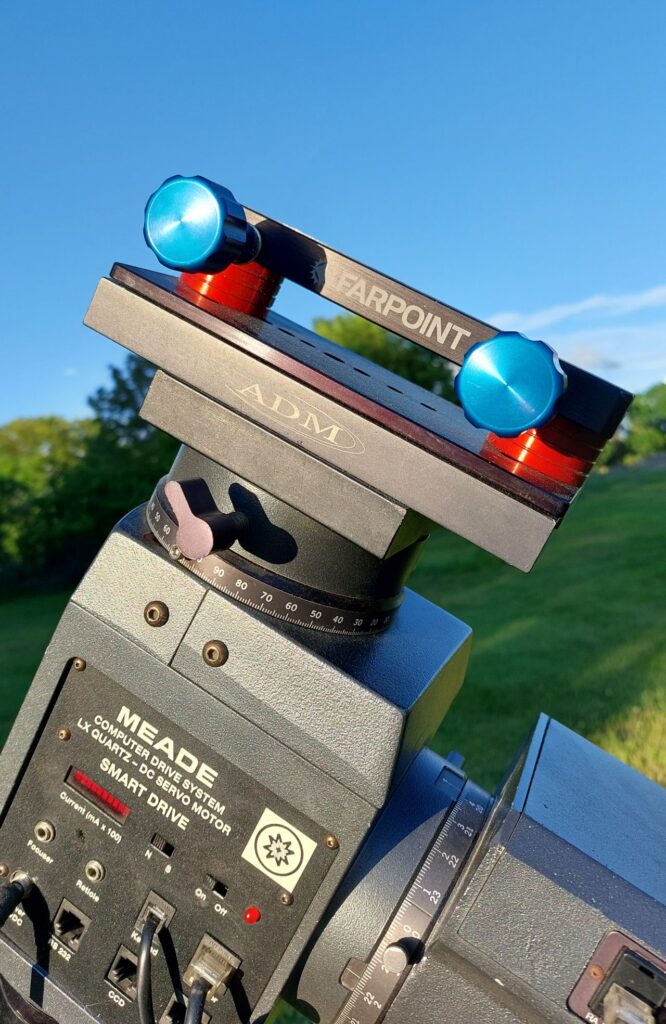
One of the other quirks is that the original setup used a built in cradle for each size refractor in the Meade lineup. So you have to buy 2 adaptors to use a common dovetail of today. Mine came with a Farpoint adapter on an ADM assembly that works very well for the standard Vixen style dovetail. However, the ADM assembly that holds the adapter was actually a little loose and caused the adapter to be “off” a little when you goto an object. When that was tightened down it became much more accurate on the slews and centering.
The # 1697 Manual, part 1&2, will be your best friend! This is the name of the goto system that was added during or after purchase. The mounts orignally came without the goto feature and had to be added to the early models. It was easy to install and most mounts today have this system. I suspect if you were going to spend all the money you had to spend for the telescope and mount you might as well spend a bit more and get it with the goto feature. The stars and objects in the #1697 system are given numbers that you enter in the the appropriate menu. Messier objects use their regular numbering but the stars have 3 digit numbers that you have to memorize or look up in the manual.
There is a “CCD port” on the mount that uses a standard ST-4 cable though you can pulseguide with a modern ASCOM driver. PHD2 guides it quite well but you have to have the ST-4 cable in place for it to pulse guide. The manual gives you instructions on making your own cord which tells you this was a pioneer feature of the mount. This is just another quirk of the system.
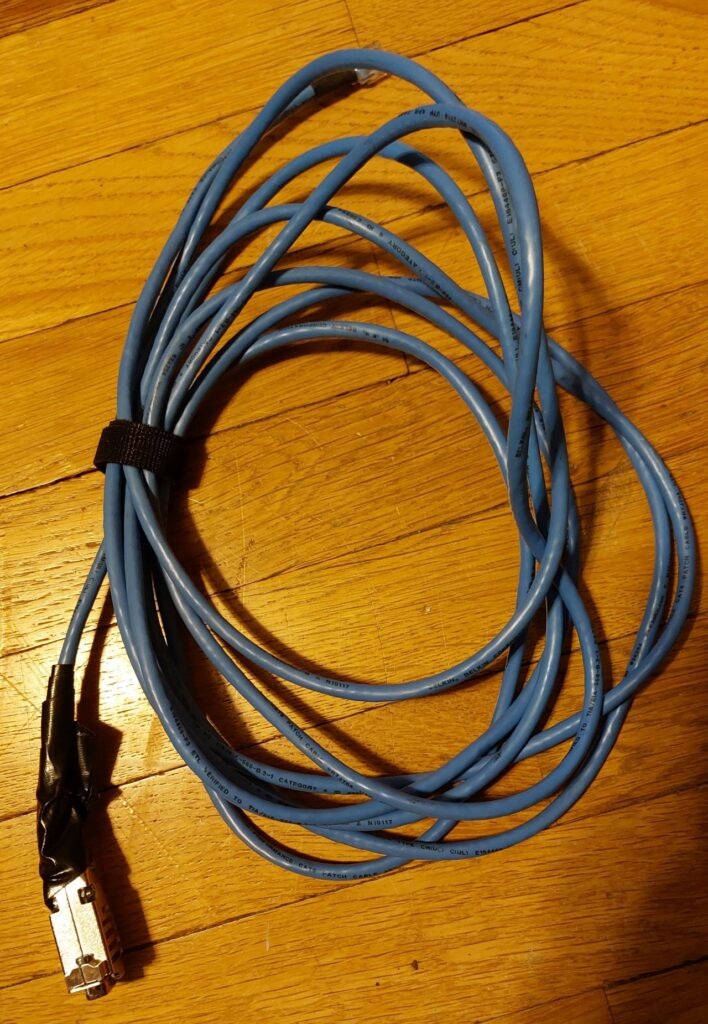
There is also a RS232 port that uses the Meade 507 or LX200 Classic cable. Unfortunately, the one that I originally bought for this scope got trashed when I stepped on it one night testing it. Before this accident it was driving the mount through TheSky 6 Pro, so this means it should run under other planetarium programs. There are several drivers that you can get on the ASCOM website.
I recieved another equivalent Meade 507 cable from Ebay for 20 dollars delivered. This time I am reinforcing the serial cable end with permanent “Gorilla Glue” brand Duct tape. The telescope end is already reinforced. It is just too easy to step on a cable in the middle of the night and tear a wire loose!
When the mount was purchased it came with one weight. For all but the 6″ refractor it is all you need since the shaft is extra long. For the “Beast” you need slightly more weight, especially with a camera attached. Problem is, the shaft is an inch in diameter which is wider than all my other weights. When I found a weight that would fit, it cost too much.
So I made one! Using a 2.5 and 5 pound weight I bought 1.25″ shaft collars from Grainger and superglued it to the weight. In the first efforts to do this the glue would hold for a week or so then it would come off. The trick is to use alcohol to wipe off the dirt and grease on both surfaces before applying glue. I used a hammer on the shaft collar and it would not come off the weight. Also replaced the set screw with a slightly longer one. In the future I plan on using Alum Bond, especially for a heavier weight. Alum Bond advertises a holding power of 25,000 pounds and it seems to work well with metals. It fixed the broken spreader plate and it is now stronger than what it was before it broke.

For the money this is quite a mount. It holds the 6″ refractor steady and points accurately. Spent an hour or two in totally wretched conditions the other night going to different deep sky objects with the 6″ telescope. Even with the marginal conditions and 10+ mph winds it held the scope steady and slewed to the target in a wide field eyepiece. Users report that if you fix the cone error mechanically the LXD mounts are quite accurate. With the Smart Drive feature you can correct for irregularities in guiding (PEC).
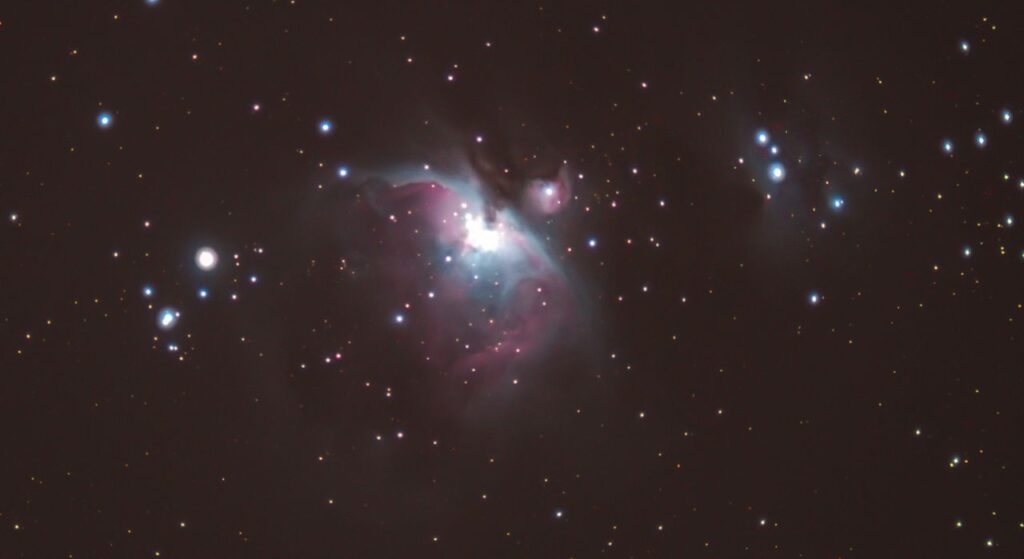
My plan is to use T-Point under TheSky 6 to correct for cone error and an auto guider for imaging. The 6″ refractor will be used primarily for planets but will occasionally be used for deep sky work. Recently I purchased a 6″ TPO Ritchey-Chretien optical tube. The “Mini-Beast” will be placed on this mount to finish a study of the Central Stars of Planetary Nebula study. It is also fun to use a Orion ST-80 to deep sky image with the mount. Defintitely a case of mount overkill!
Overall the LXD600 is a suitable chariot for the the “Beast!”