Several years ago my beloved Santa Barbara Instrument Group ST-2000 died a horrible death. Somehow the power supply melted a couple of chips. This included evidence of an actual flame inside the camera. Still not sure why or how it happened but the wonderful ST-2000 was no more!
I reached out to the American Association of Variable Star Observers, an organization I had have belonged to since the mid 1990’s. In an Email to Arne Henden (the former head of the AAVSO, now retired) I asked if there was a camera that I might borrow to replace the ST-2000. Several weeks later it showed up at my doorstep!
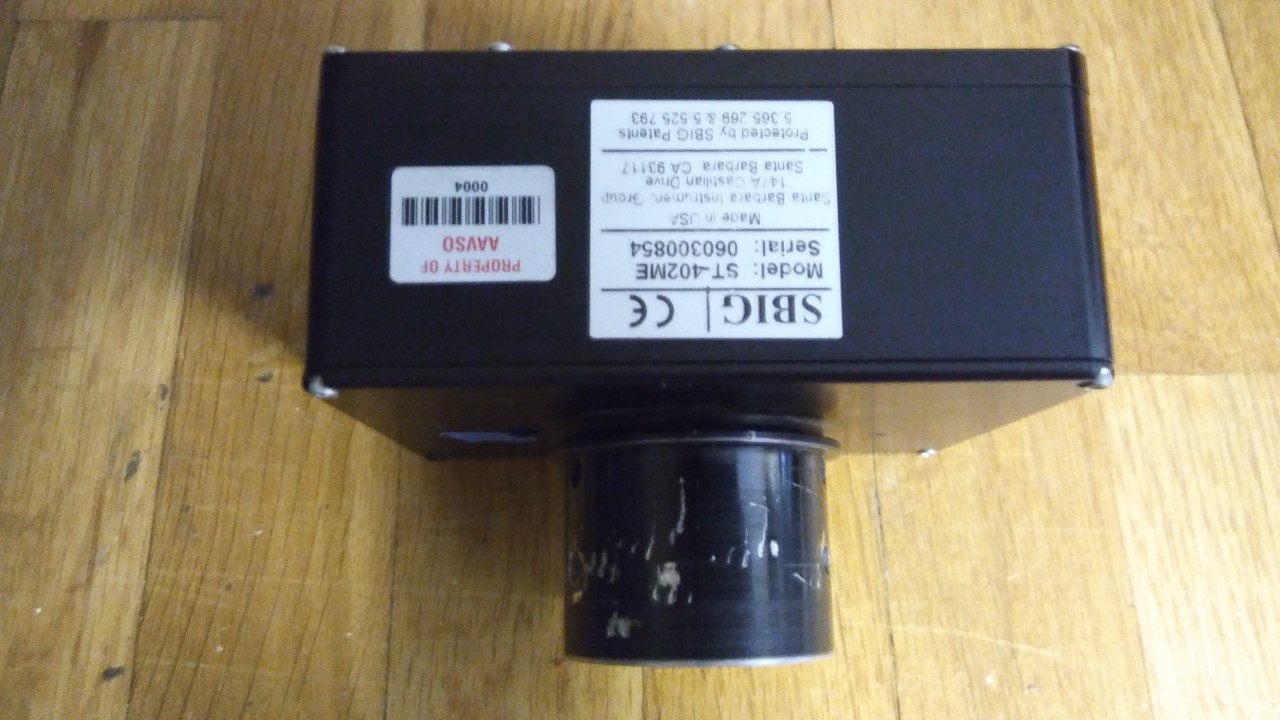
When I opened the package I gazed with surprise at the ST-402 Photometric camera. That is not what was so surprising! It turns out that this was a camera I had to send back to the AAVSO a few years before because a friend of mine decided to get out of astronomy and the camera was mounted on my LX200. The camera and telescope were at 9,000 feet in Southern New Mexico and were providing data on Blazkho stars to a group in Europe. My friend quit astronomy in a big huff and the camera had to be returned to the AAVSO as part of the heated (on his part) separation. When my friend quit astronomy he sold me his 11″ Celestron CPC and the ST-2000 so I did not miss the ST-402 camera on the LX200.
How odd that several years later the camera should resurface as a backup to my now departed 2000. Though it does not have the bigger chip and internal autoguider like the 2000 it did come with BVIC filters internally mounted with the camera. It uploads fast and was very reliable. That is until we moved to Missouri due to a job change and the silly thing seemed to stop working correctly.
I set up my Sirius Mount, AR102 telescope and used the ST-402 as the imager. Everything worked quite well except the 402! The images would sometimes come out ok and sometimes it was obvious that the shutter was only half open. The shutter has the 4 filters mounted on it and when the shutter closes it is supposed to go between the filters. When the shutter opens the filter moves over the chip. This was not happening reliably.
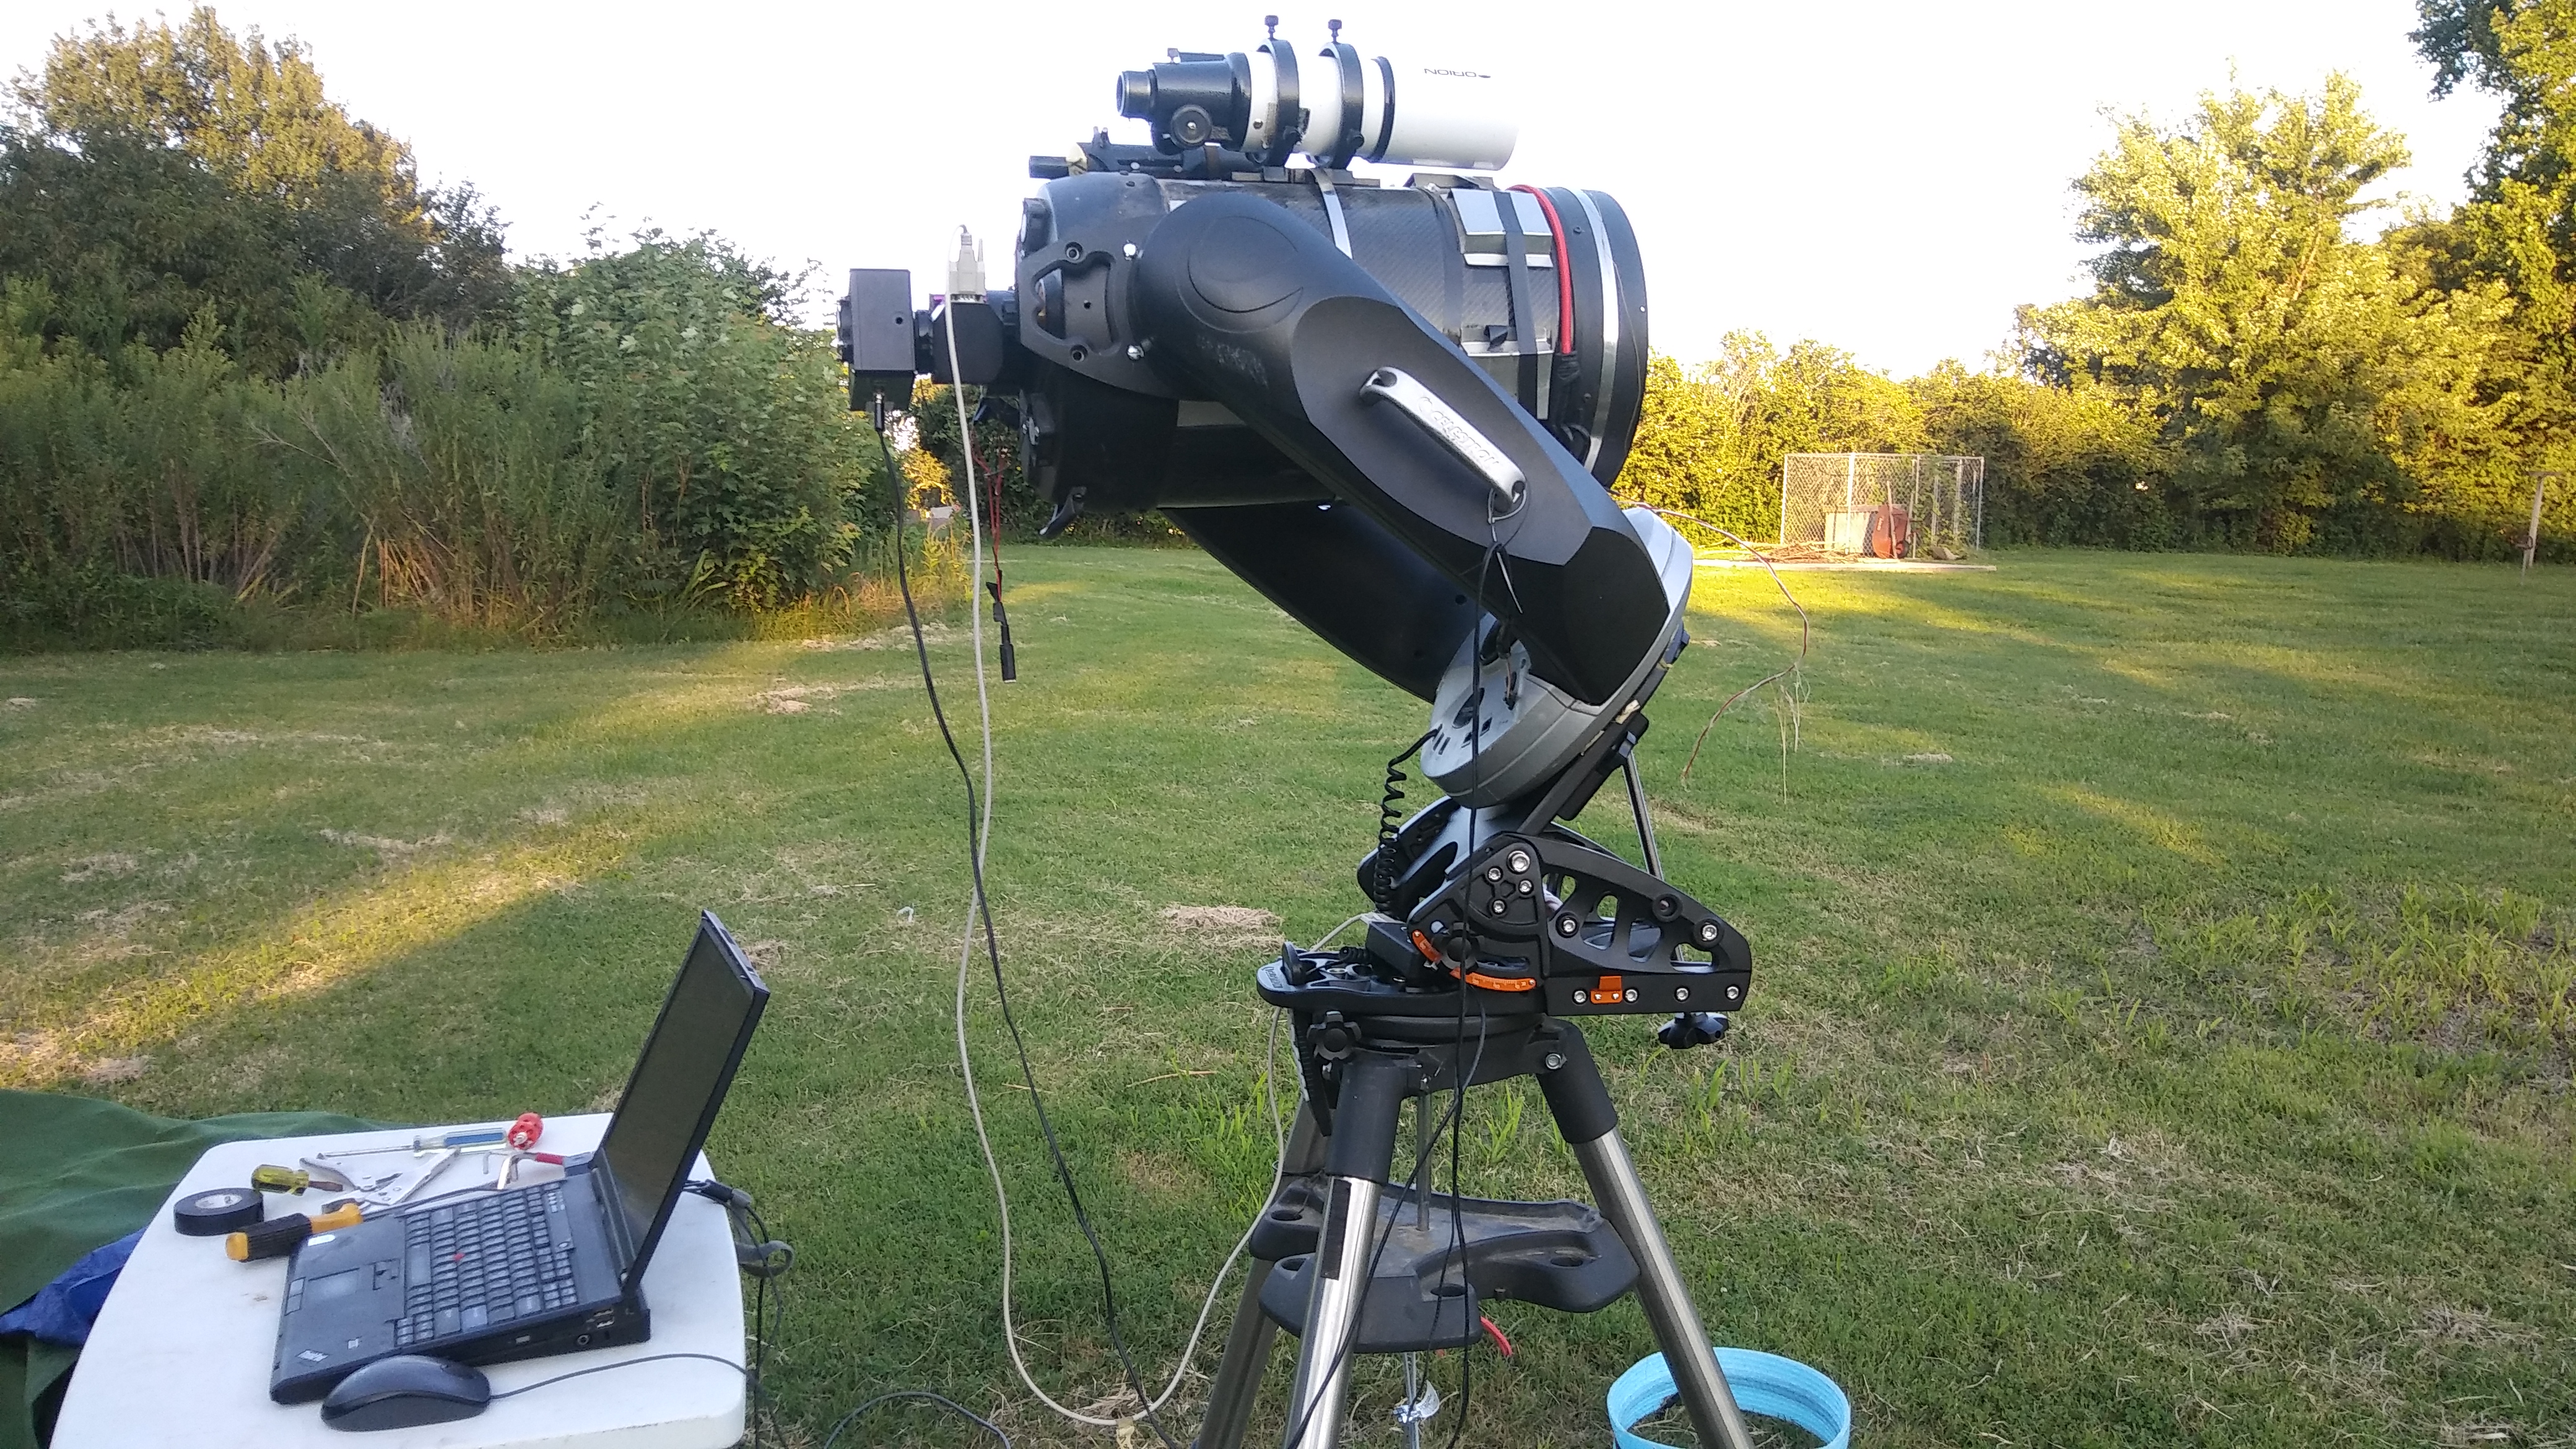
I put the camera on the shelf since I was busy trying to get my 11″ CPC to actually work! I had also purchased a used SBIG ST-8E parallel port camera for 225 dollars. This has the same size main chip as the 2000 but uses parallel port instead of a USB port. The internal guide chip is smaller than the 2000 but still workable.
Today I finally got around to checking out the ST-402 issues. I had tried to just tape the V filter over the chip but would get weird results. It worked but you would get strange looking images. I guess there is a reason to have a shutter!
In looking up issues with this camera online a couple of other people had had similar issues. The solution was to download the latest USB driver from the Diffraction Limited legacy support site. So I did that. However, there was one step that I neglected because I was in a hurry. All of my laptops used for astronomy had the old USB and Parallel port drivers on them. My thought was that those drivers would be a generic SBIG run all. So on the laptop I use for this camera I just ran the new drivers over the old drivers and figured that would do it. Ran Maxim DL 5 and still had the same issue, same with CCDSoft.
This afternoon I uninstalled the old SBIG driver checker and reinstalled the new driver checker. Booted up CCDSoft (still like it better than Maxim, but it is a personal preference issue) and it still didn’t work. I went through all of the filters and after hitting the B filter it worked fine and continued to work fine. Clicked out of CCDSoft, unhooked the power from the camera, then reversed the steps. As long as you start the camera with the b filter in it’s first image the rest work fine. If you don’t it will give you random filters until you go to the B filter, then it works ok after that. Very strange!
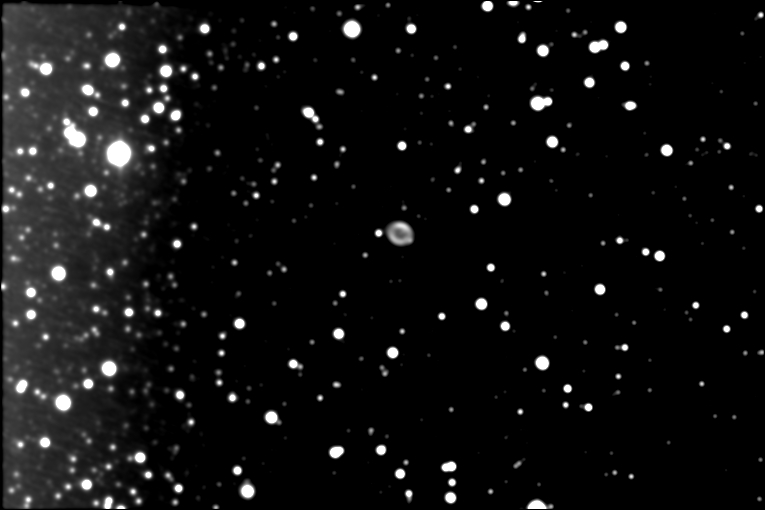
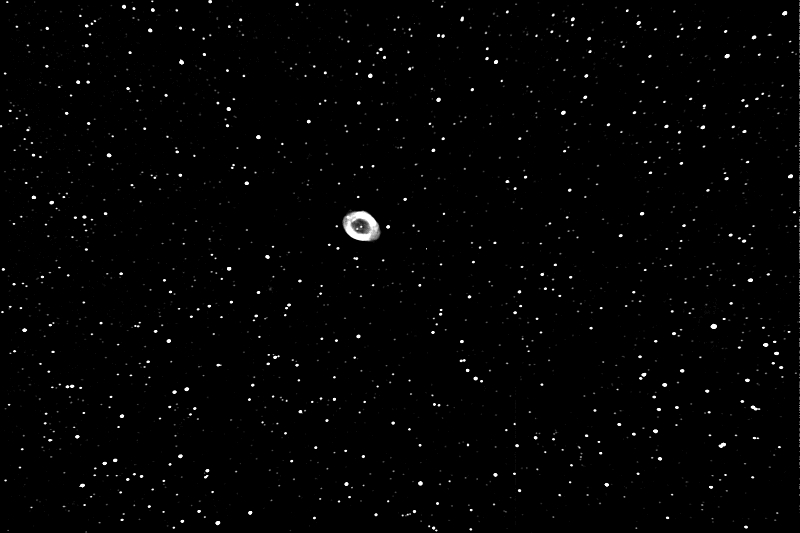
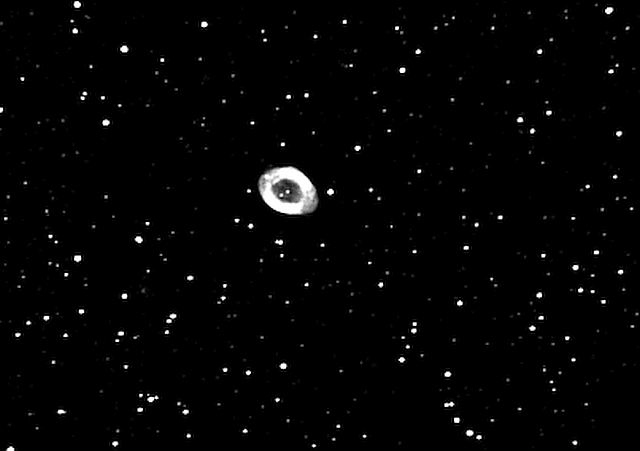
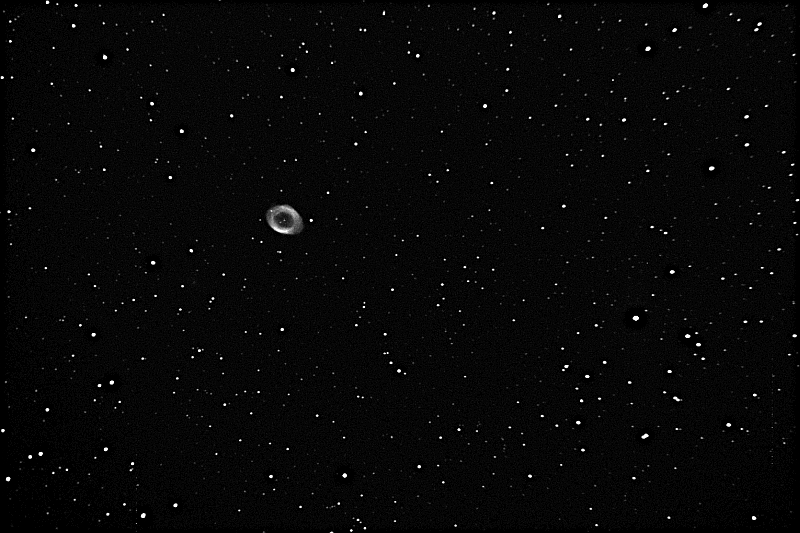
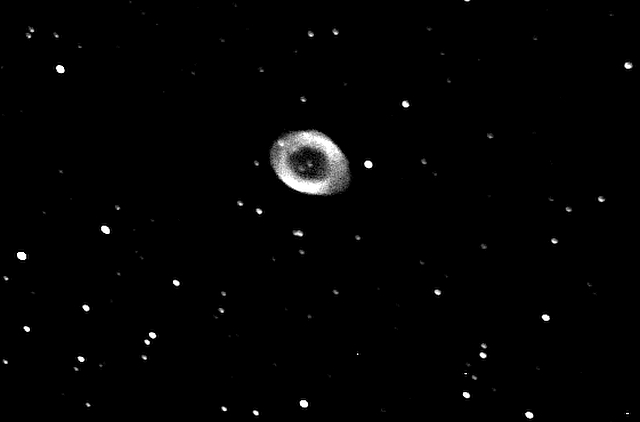
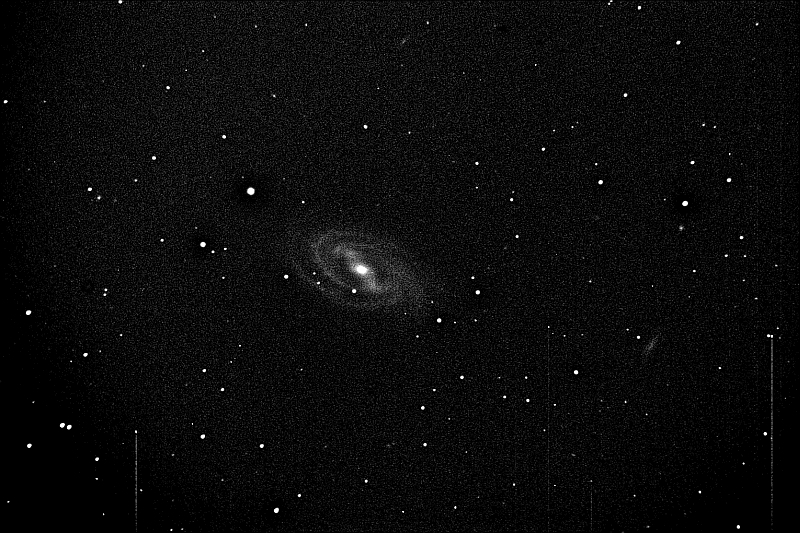
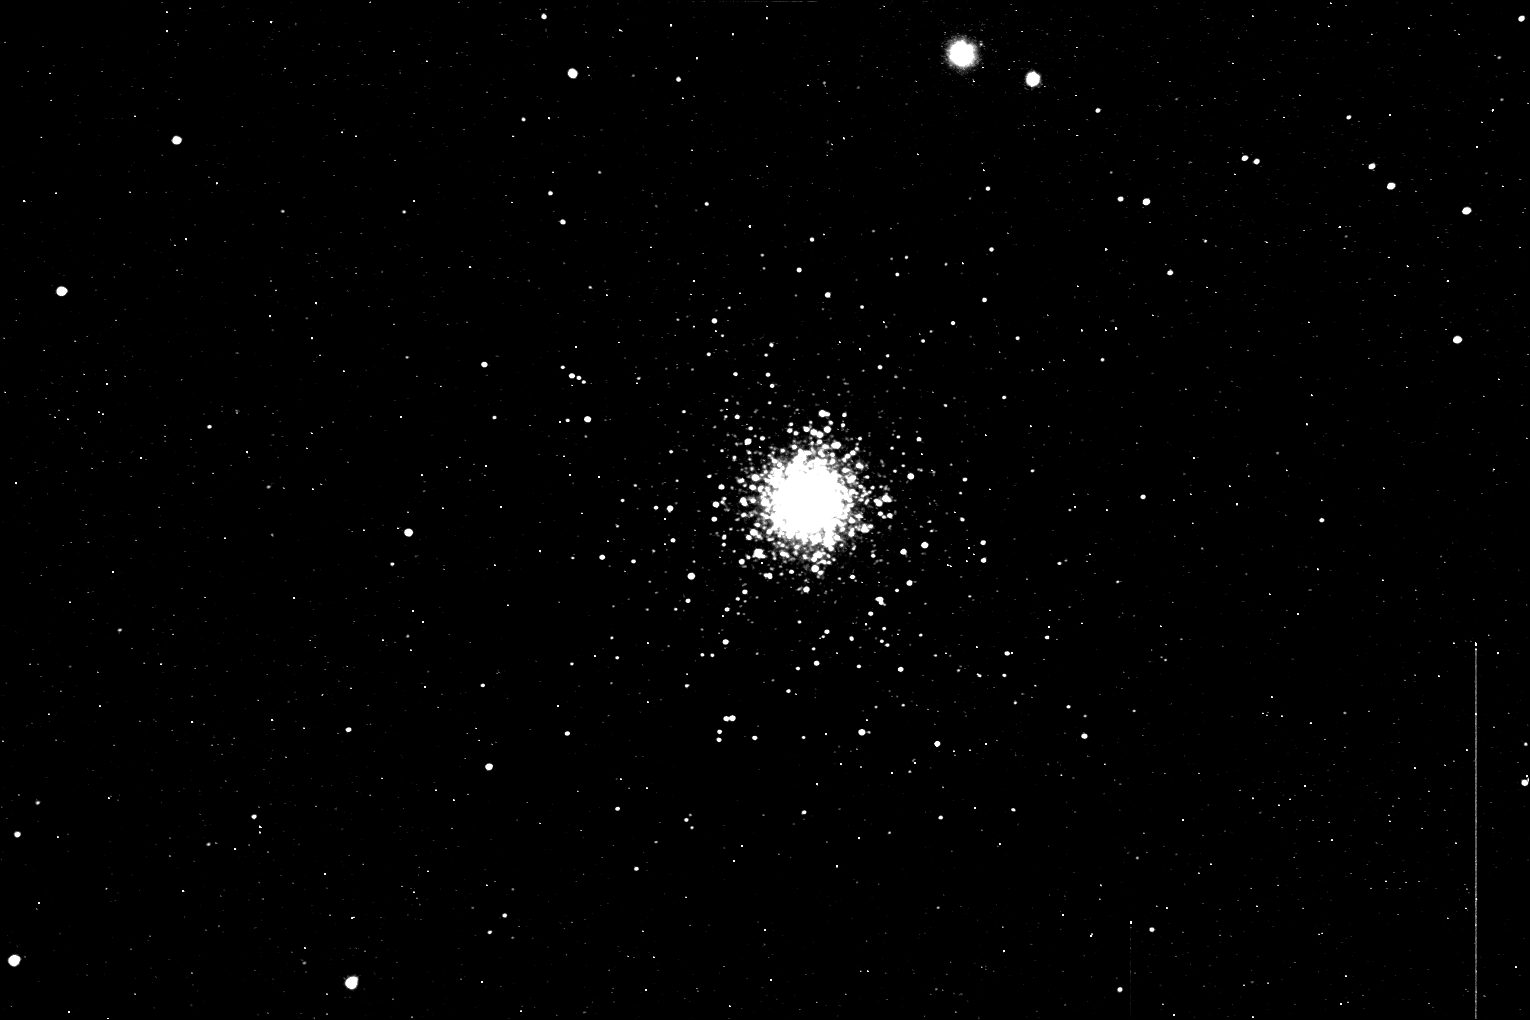
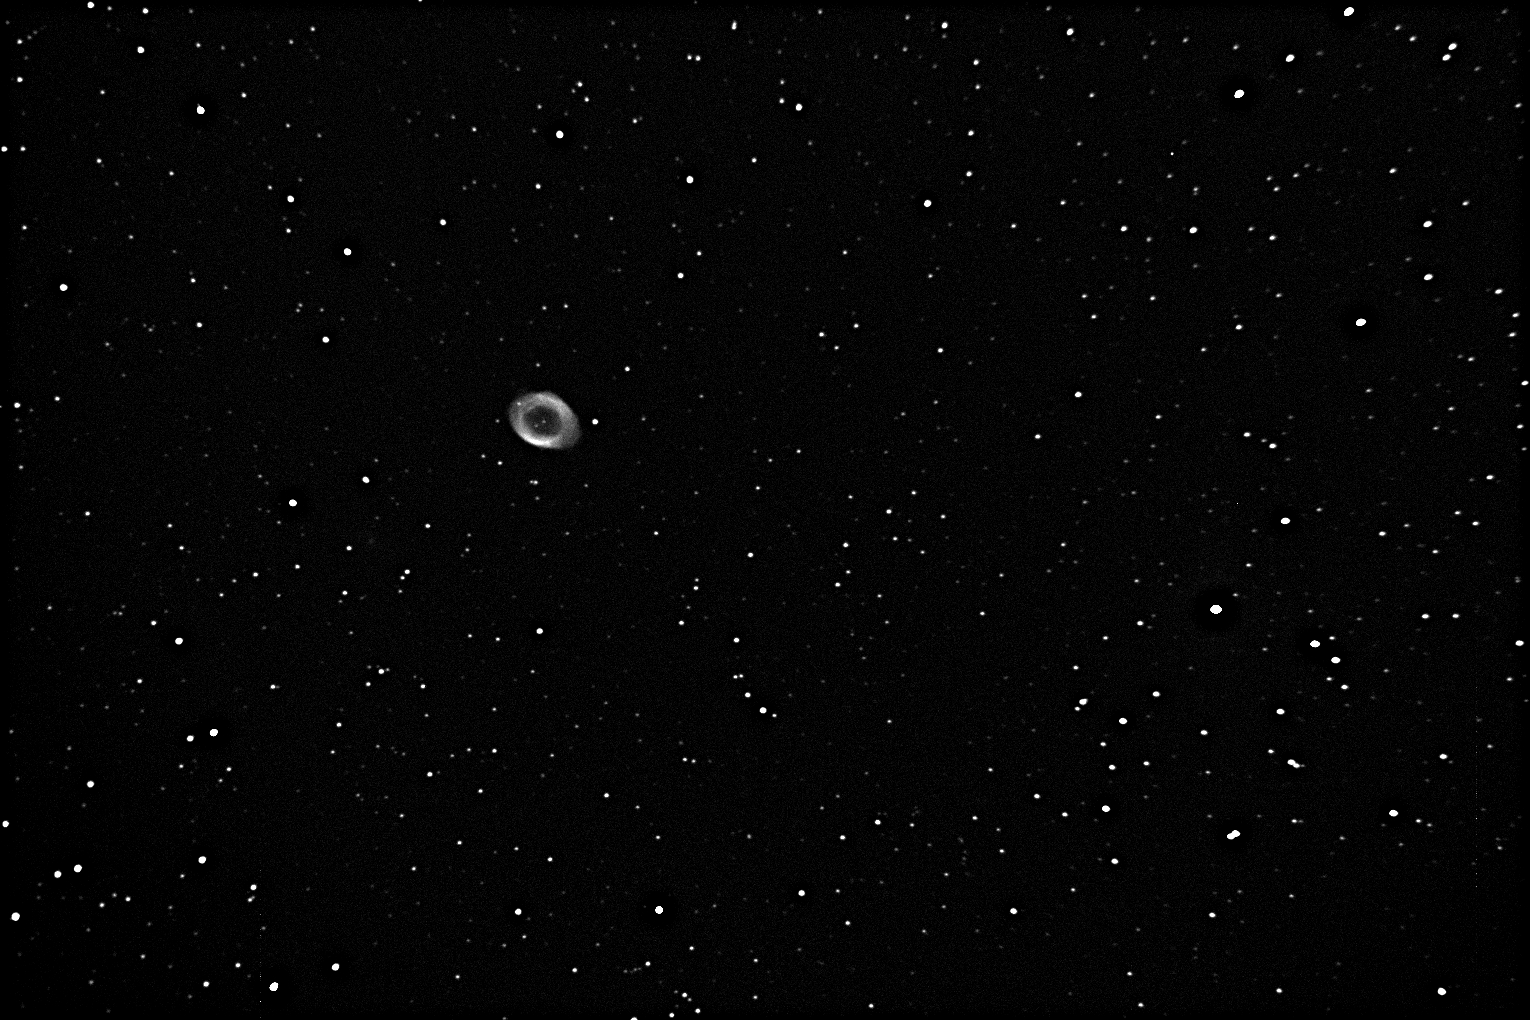
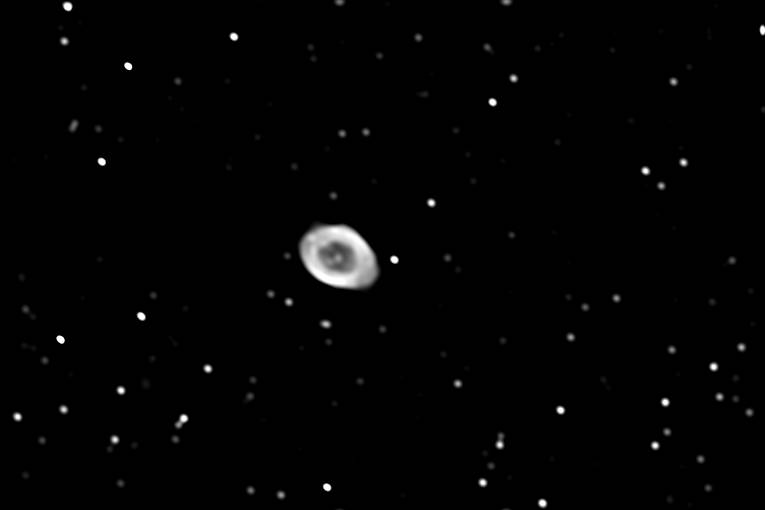
So after about 5 reboots this technique has been added to the start up procedure. Maxim DL5 still won’t work with this camera. I suspect that the “legacy” drivers that you have to load for Maxim to use parallel port cameras are not new enough to run the ST-402. Will try uninstalling those drivers in the near future and see if that solves it. Using this camera on an F6.5 focal ratio refractor gives a very wide field of view. Here are some more examples of how well it works.