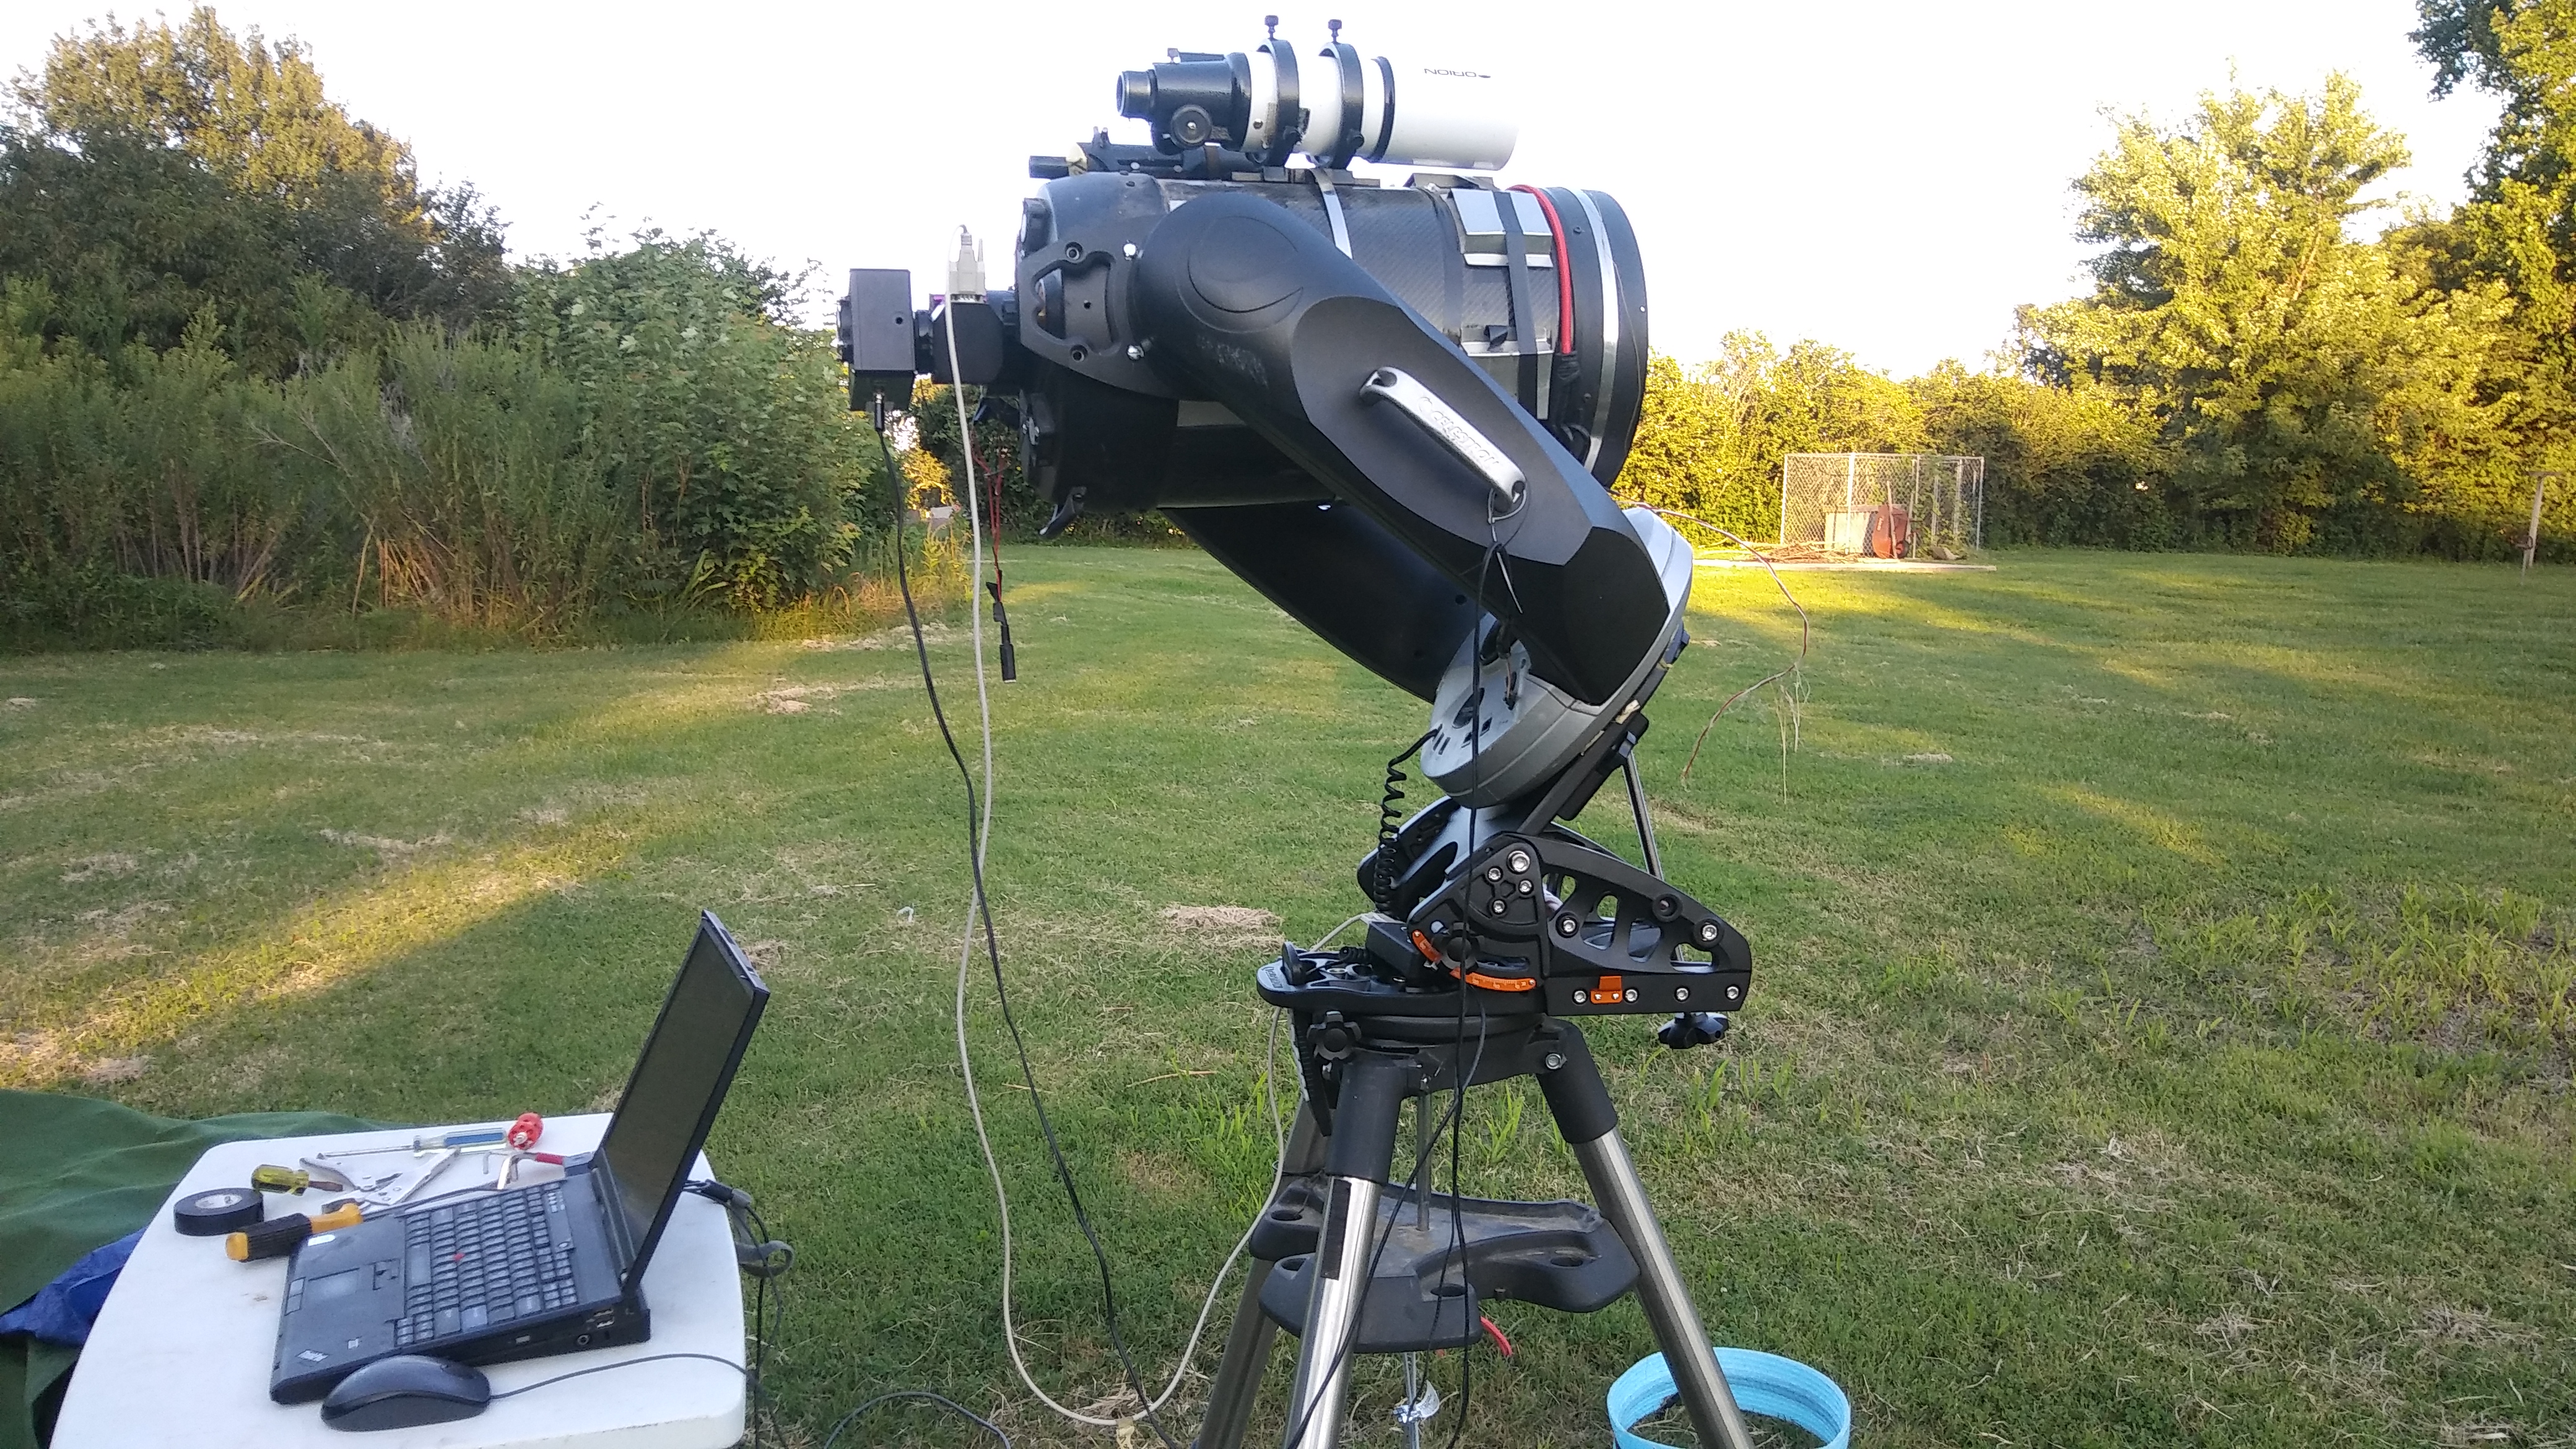
A year or so ago in Astronomy Technology, I wrote an article about my 4 year struggle to get my 11″ Celestron CPC up and running. When the article was written everything seemed to be in order. I used several images from recent runs but still had a lot of reject images during these runs due to bad tracking. However, the final images came out ok so I didn’t worry about it. I had not gone back and looked at the number of rejected images due to smeared stars. One of the curses of being busy!
The telescope was running remotely as I finished the article for the magazine on my office computer. In the morning, the images were uploaded with Teamviewer 13. With a cursory glance using the “large icons”settings in windows, everything seemed to look good from that run. Problem finally solved, article finished and sent off.
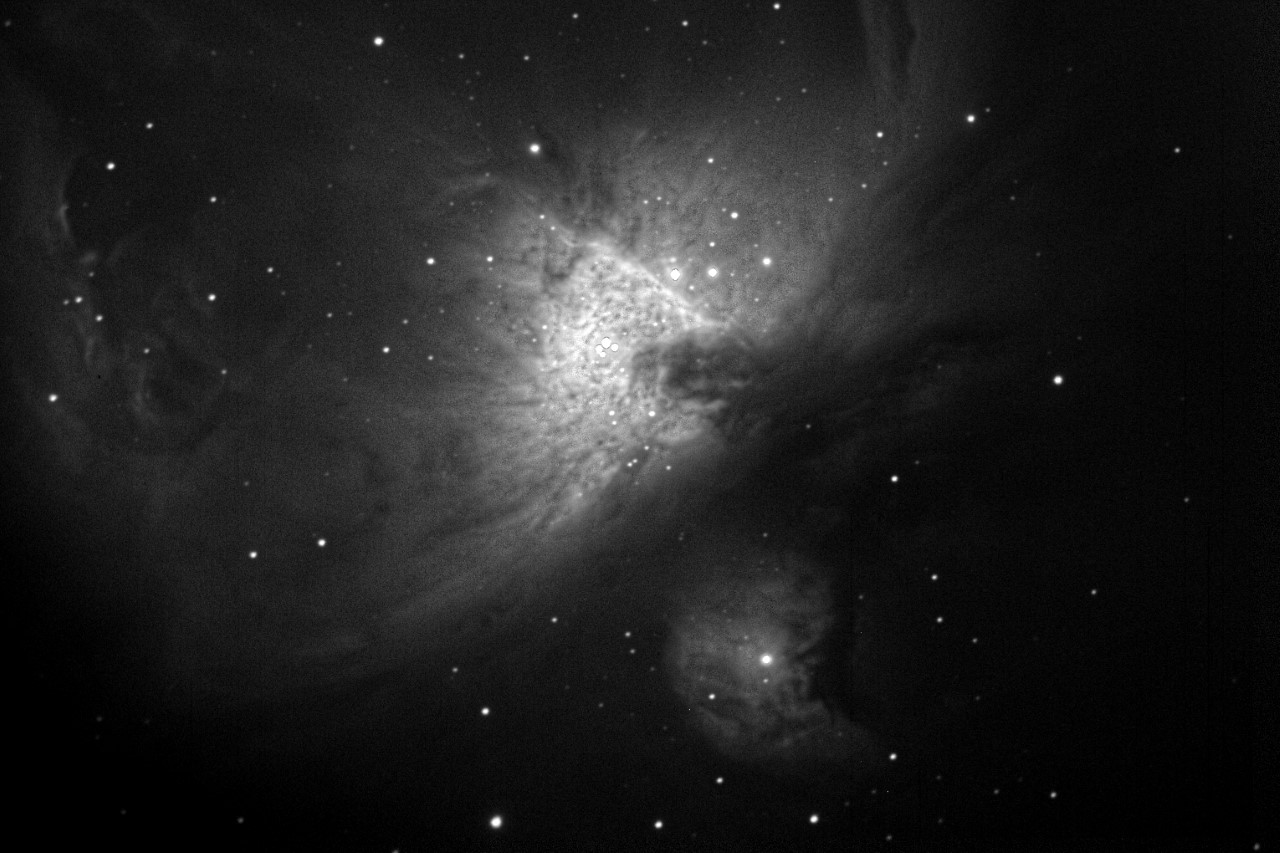
A month later I got around to analyzing that last set of images. What a disaster. With the large icons setting, they looked good, but when they were examined at full resolution, not so much. Out of around 100 images only 30 or so were usable to stack. This was worse than before the backlash and balance were adjusted!
Here is the link to the original article and one other blogpost on the subject!
http://templeresearchobservatory.com/wp-content/uploads/2018/10/Prepping-a-CPC-1100.pdf
It was too late to retract the article and rewrite it so it went to print! After 4+ years this scope still didn’t work right! So out of frustration I took off the SBIG ST-8E camera and moved it to the AR102 refractor mounted on the Sirius mount. This yields a large field of view and does a good job of photometry. Being ready to take a sledgehammer to the CPC, I decided to give it a few months before I even thought about trying to fix it again. The link to 3 Steps Back 2 Steps Forward gives more details of some of these post break tests.
After a few months, the temperature finally went above freezing one day so the ST-7E went on the 11″ CPC until I could figure out why the telescope wouldn’t work right. The ST-7 camera is identical in weight to the ST-8 and would be a good substitute. Of course I couldn’t find the filter wheel for the CFW-8 so it wasn’t exactly the same weight. I did find the filter wheel…it was in the ST-7 case so I wouldn’t lose it. Then the wait on weather and schedule began!
Of course the weather has been just awful. Wettest year in 30 + years. Clouds, rain, fog, snow, hail, freezing rain and sleet, all since the article was written. On most clear nights I just ran the AR102 instead of the 11″ CPC. You just don’t waste clear nights on experimentation if you can help it in the midwest. The AR102 ran flawlessly, soothing my bruised ego a bit!
The first issue I ran into when trying to troubleshoot the CPC was that the ST-7E kept icing up! So I looked at the plug and realized that it was also a dummy plug! Somewhere I have 2 usable desiccant plugs but I can’t find them. Probably the same place as the filter wheel! So I took the dummy plug and drilled a hole in the aluminium stopper placed in the plug. I had an idea of putting in a small desiccant pack instead of the set up the current camera uses. When I turned it upside down, desiccant fell out! Apparently, these non-functioning plugs are non-functioning because they solder in an aluminium stopper, leaving desiccant inside. Seriously? That’s just crazy. To buy a desiccant plug today it will cost you 160 dollars from Diffraction Limited or 70 dollars for the Farpoint version of the plug. After some work I popped out the aluminium plug, pried off the cap, cut a small piece of fine metal mesh to hold the desiccant in, filled the cavity with desiccant material, then put the cap back on with some super glue. Took about 30 minutes. After a short time in the oven, problem solved!
The tracking issue had still not been solved. Went back and read every article I could find on adjusting a CPC. Called Dean Konig at Starizona. Even after following his sagely advice (one of the most knowledgeable about telescopes and imaging I have met!) the telescope was tracking worse than ever. Good grief what else could I do? Several times I went to Astromart contemplating selling this turkey.
So on a night of very marginal conditions I tried out some things. Remember, when you get so few good nights you don’t want to waste them with experiments! First I put my Orion ST-80 on the CPC to use as a guider scope. I moved the ZWO 120 MM camera to the ST-80 for better guiding and a wider field than the Meade DSI Pro I had used in the past. This helped a lot to steady out the tracking but it still didn’t really solve the problem.
Finally, a clear, (kind of) warm day, dawned. The cover was removed on the telescope and work begun. My first task was to replace the ST-7E with the ST-8E then make sure the wiring was routed correctly. Even though there is one stripped set screw this was accomplished easily.
All of the articles and advice had stated that you need to adjust out the backlash as much as possible and make sure the scope is perfectly balanced. After some thought I rebalanced the scope to a slightly nose heavy configuration. Early in working on tracking, I had tried a tail heavy configuration, which is easy since the camera weighs so much. This really made it unstable in DEC. So for this try, a weight was added up front to make it slightly nose heavy instead.
On both RA and DEC I went back and adjusted the gears until there was at least 2-3 mm of slop when you moved the motor assembly. Totally counter intuitive! When the skies cleared enough to try out all of these changes I was shocked! The tracking errors were all below .70 of a pixel. This was on a hazy night where clouds kept cutting off the guide star.
A couple of weeks later (first almost clear night) I was able to get good tracking (below .40 of a pixel) for a half hour and a number of images. The weather went south after just a few promising minutes and ended the session. Still the results looked good. Unfortunately I had been here before only to be disappointed on the next run.
Another couple of days went by, the weather cleared and I was ready to try again. After a full night of imaging M 87, 125 images in all, only a couple were ruined by poor tracking. These were due to high clouds blurring the guide star early in the morning (the dreaded “guidestar faded” in Maxim) thus throwing off the tracking. Still, even with this handicap, those images would have been usable for photometry.
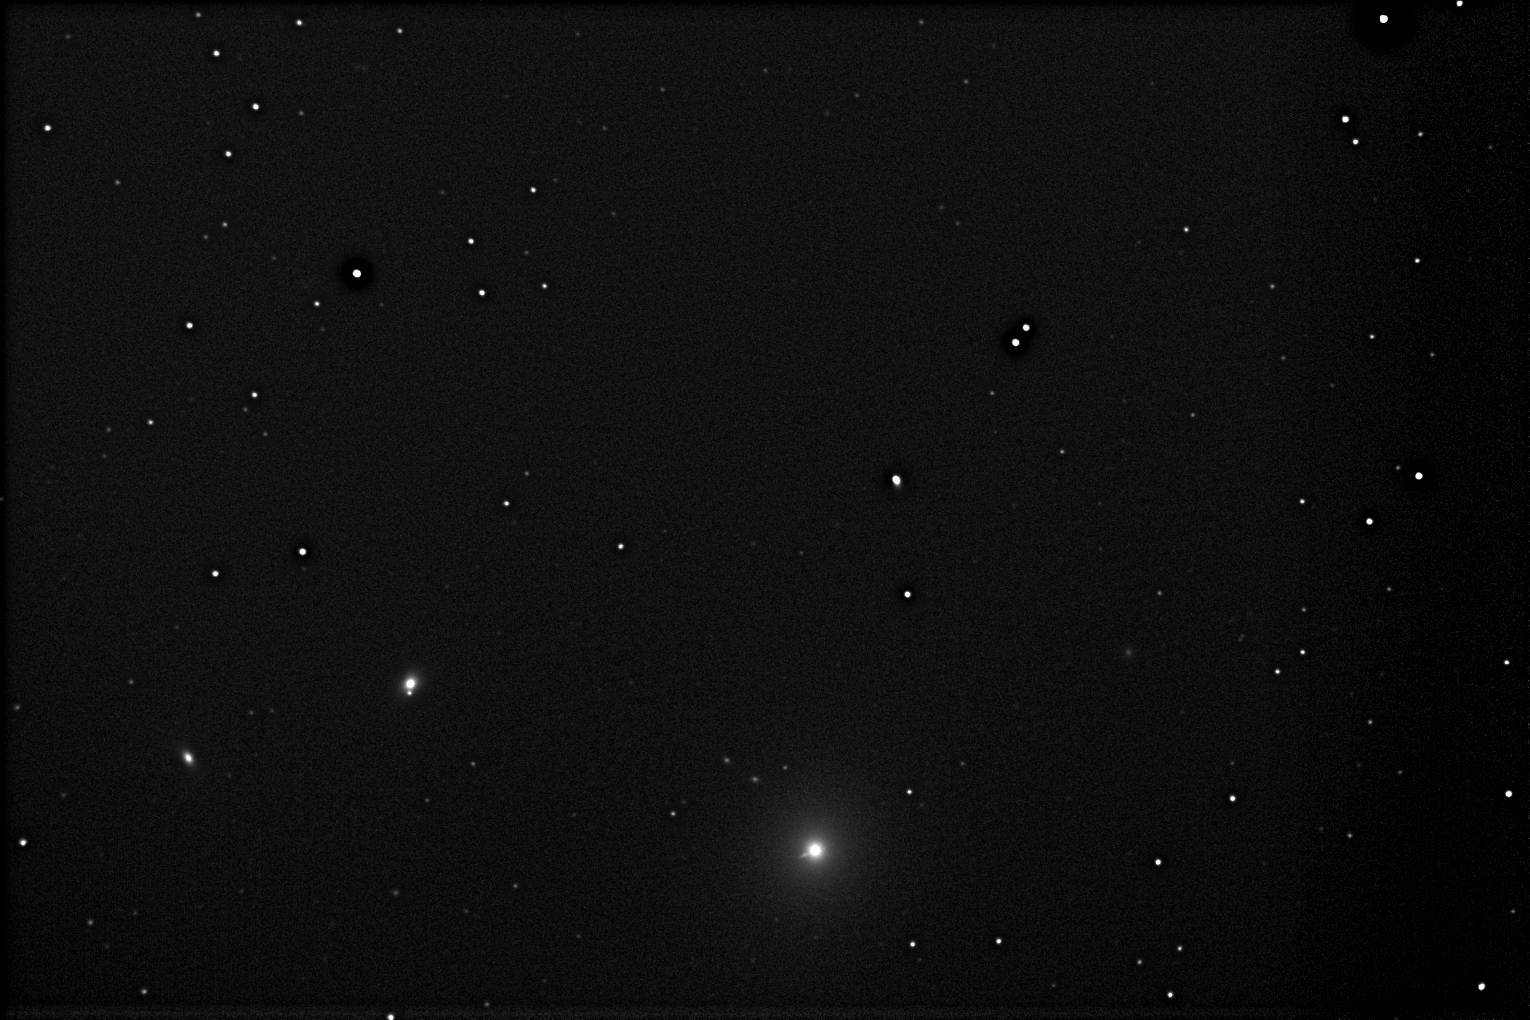
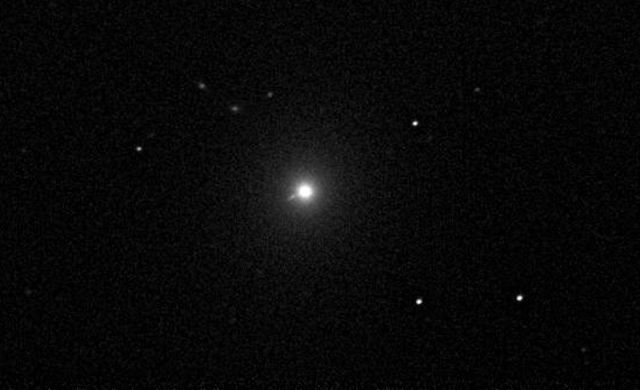
The above images do not show up very well in this web format but there are numerous galaxies in the full resolution image. Even in the full sized image the jet can be seen. With this success the future for “Temple 28″(11” CPC) looks a little brighter!
Why was this telescope so hard to adjust? I think it was because a friend had “refurbished” the scope into a professional level instrument. This entailed moving the balance point and making a carbon fiber tube. The counterintuitive settings are probably due to this change in configuration. The second factor is a constant lack of time. It seems that I have very small windows to do my hobby and this leads to trying “shortcuts.” The mantra of firemen is “to do something fast you need to slow down!”Only time will tell if the problems are truly fixed and Temple 28 is ready to go to work! After 5 years that would be a welcome outcome!